


Power Cords
$70.00 – $1,240.00
SJTOW UL & CSA Approved – Underwater Rated 3-Wire Cable
Potted Quick Disconnect
115V NEMA 5-15P Plug | 230V NEMA 6-15P Plug
Please refer to the Ordering Guide for assistance.
Description
Replacement SJTOW Power Cords for your Ice Eaters, F-Series Aeration Equipment, and Decorative Lighting.
Product Specifications
SJTOW UL & CSA Approved – Underwater Rated 3-Wire Cable
Potted Quick Disconnect
115V NEMA 5-15P Plug | 230V NEMA 6-15P Plug
Please refer to the Ordering Guide for assistance.
Ordering Guide
16/3 GAUGE WIRE
- Available for Ice Eaters and Decorative Lighting
- The Quick Disconnect Connector has an Outside Diameter of 1 1/8″
- 115V / 230V Available Up to 100′ Long
14/3 GAUGE WIRE
- Available for Ice Eaters, F-Series (12/3 Gauge Predominantly Used between May 2017 – May 2019), and Decorative Lighting
- The Quick Disconnect Connector has an Outside Diameter of 1 1/8″
- 115V Available Up to 150′ Long / 230V Available Up to 400′ Long
12/3 GAUGE WIRE
- Available for F-Series Equipment – Predominantly Used Between May 2017 – May 2019
- The Quick Disconnect Connector has an Outside Diameter of 1 3/8″
- 115V Available Up to 150′ Long / 230V Available Up to 350′ Long
Install Instructions
- Unplug the Unit From the Power Source
- Loosen and Remove the Existing Power Cord
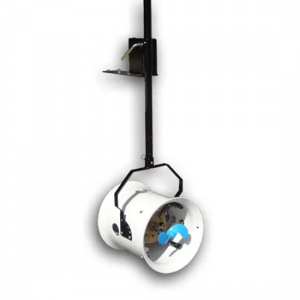
- Take Replacement Power Cord and Run Through the 2-1/2″ Water Intake Hole at the Bottom of the Shroud
- Apply a Small Pea-Sized Amount of Dielectric Grease to Power Cord Connector
- Line Up the Pins and Holes From the Power Cord and Connector on the End Bell, and Then Twist it on
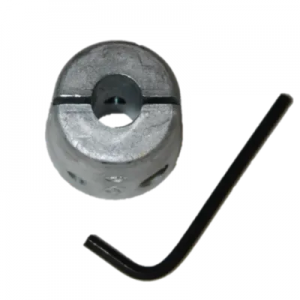
Make Sure to Hand Tighten Only – Do Not Over Tighten – Do Not Use Tools - In Order to Prevent the Power Cord from Hitting the Propeller, Pull Out Additional Slack Through the 2 1/2″ Water Intake Hole and Secure with Clip and Screw
One Additional measure you can take is to secure the power cord to a bracket with a zip tie and then secure with the clip and screw on the shroud. - Spin the propeller by hand after you complete the install to make sure the propeller does not hit the cord.
Related products
-
- Parts & Accessories
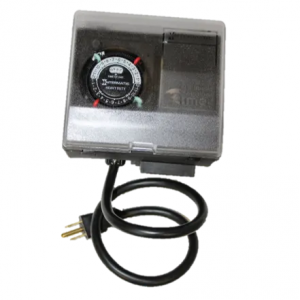
Timers
- $115.00 – $290.00
- Select options
-
- Parts & Accessories
Dock Mount
- $414.00 – $415.00
- Select options